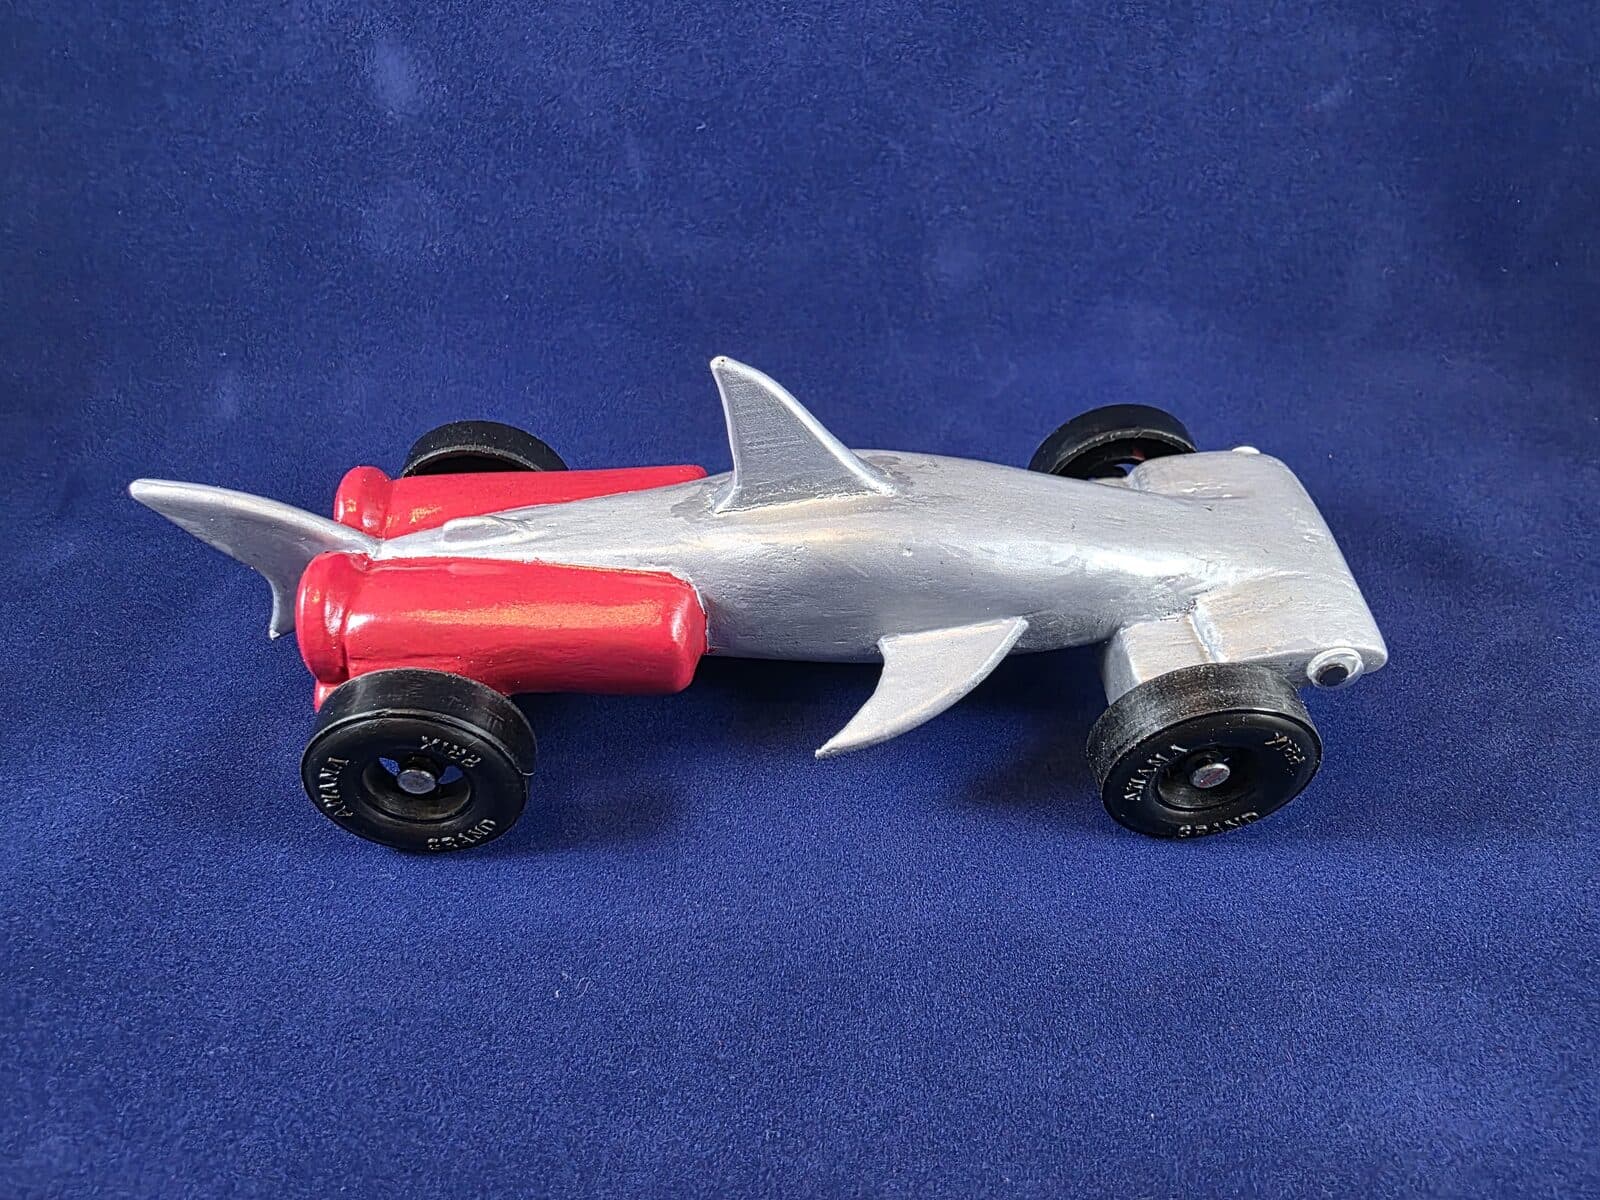
My son Elias is five. This year he raced his first car at our local Awana Grand Prix. It came in second place in speed and first place in design within his division.
Almost every conversation I have had with another parent about that car has gone the same way. They ask how a five-year-old built that. The honest answer is that he did not build it, not in the way the word usually means. He chose the design. He painted the car. He carried it around all day on race day with both hands. I did everything in between. This post is about how that split actually works.
Elias's job, part one: pick the shark
Awana Grand Prix is the Awana program's version of pinewood derby. Same five-ounce limit, same wedge of pine, same plastic wheels and nails. Anything I say here applies to a Cub Scout or Boy Scout race too.
When the kit came home, I opened Printables on the laptop and we scrolled through pinewood derby designs together. He stopped me on a model called the Sharkcar — a hammerhead with a properly shark-shaped body and two cylindrical pods on the back that look like the kind of rockets a five-year-old wants on his car.
"That one," he said.
The car needed to be something he loved. If I had pushed him toward a faster shape — the Sharkcar is honestly not the most aerodynamic option — I would have been picking my own race instead of his.
He picked the shark. We were going with the shark.
My job, part one: turn the shark into a buildable thing
The Sharkcar file on Printables is a 3D model. It is not a set of instructions for turning a block of pine into a shark. To get there, I needed to do something the Printables file did not include: figure out where the shark sat inside the block, and generate carving templates I could glue to the wood.
I did this in Tinkercad. I imported the Sharkcar model, dropped a virtual block of pine into the scene at the exact dimensions of our kit, and positioned the shark inside the block so the wheel slots lined up correctly. Then I exported five views: top, right side, left side, front, and back. Each view shows the shark's silhouette overlaid on the rectangle of the pine block.
I printed those views on regular printer paper, cut them out, and glued them to the five corresponding faces of the block. Now I had a block of pine with a shark drawn on every visible side. Where the paper showed shark, I needed to keep wood. Where the paper showed empty space, I needed to remove wood.
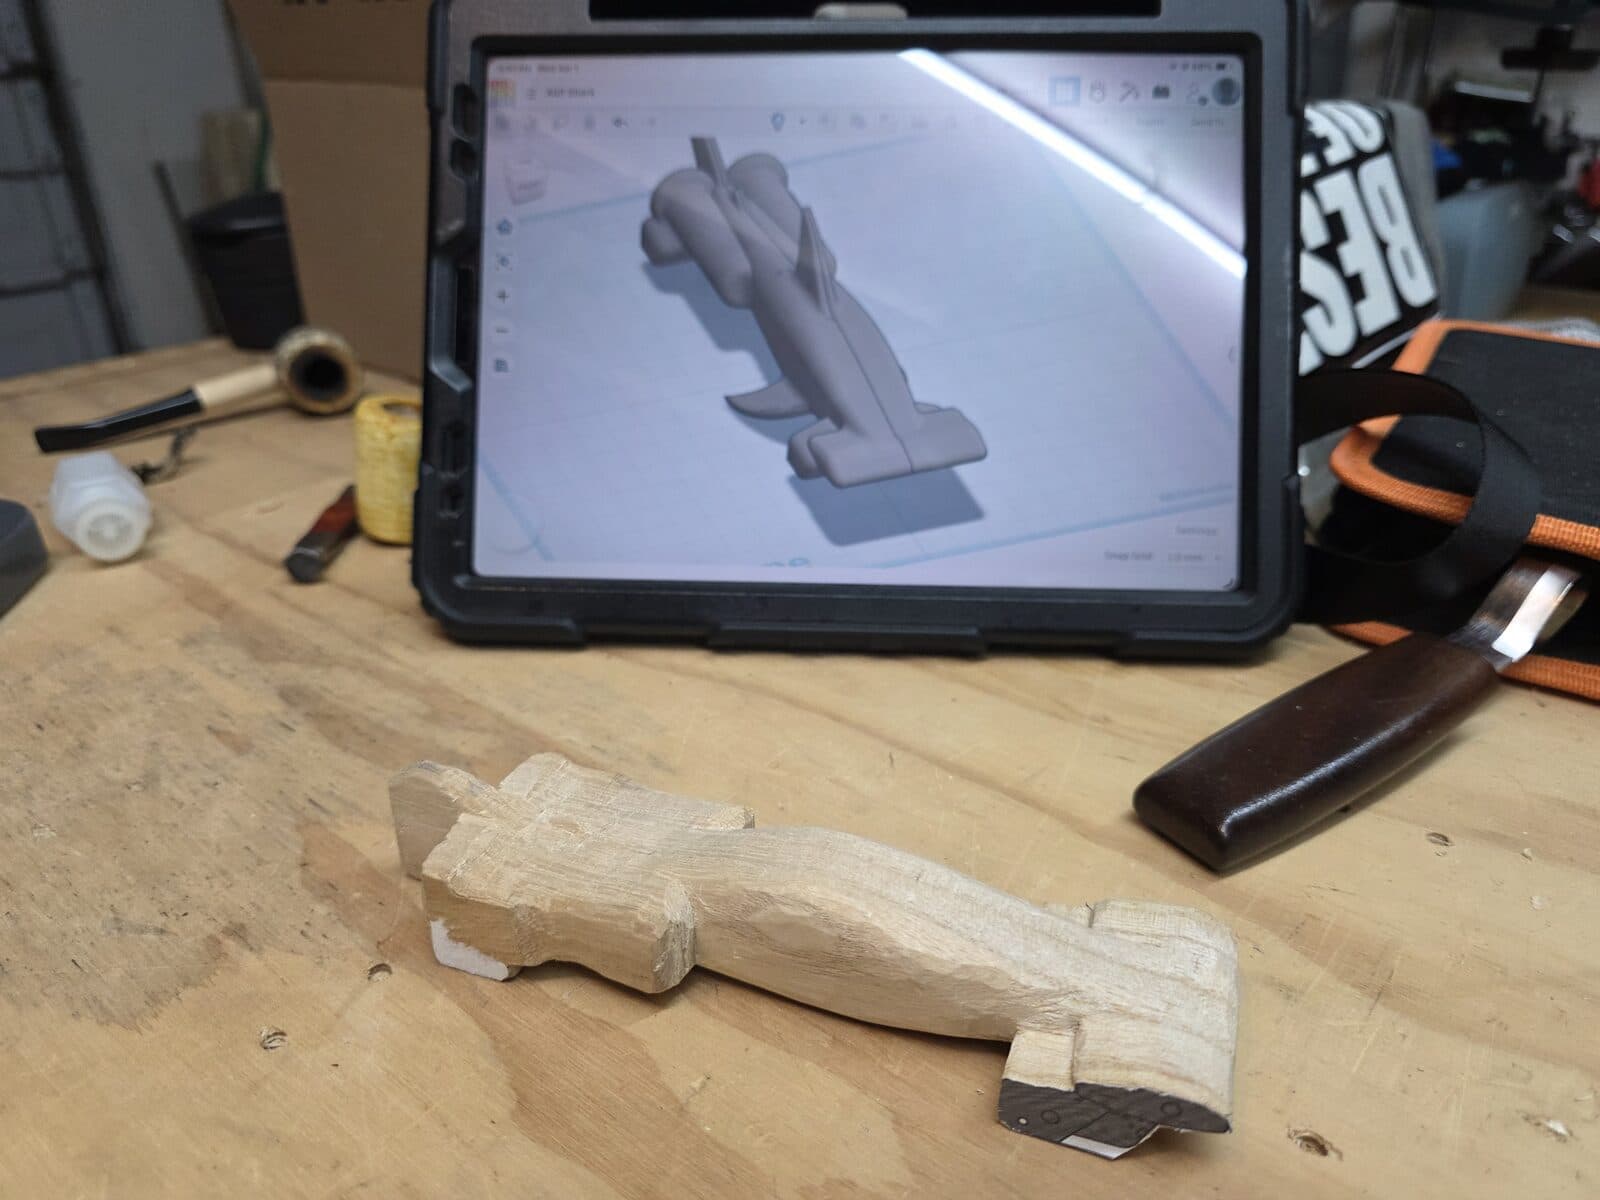
Carving became a matter of cutting to the lines, using a small set of dedicated wood carving knives — not X-Acto or utility knives, which will skip and chatter on wood. (More on the tools in a separate post.)
My job, part two: print only what pine cannot do
The Sharkcar has thin fins — dorsal, two pectorals, and a swept tail. Pine cannot do that. The first time I tried to carve a thin fin out of pine, it split before I got halfway through. Pine is soft and grainy and it does not respect thin geometry.
So I split the build. The body — the thick, mass-bearing parts that hold the weight and the wheels — stayed pine. The thin parts became 3D prints. I printed the dorsal, both pectorals, and the tail.
I also printed the very end of each rear rocket pod — the part that looks like an exhaust nozzle. The rocket pods themselves I carved from the same block of pine as the body. Only the small end cap on the back of each pod is 3D printed.
This matters for two reasons. One, the carved-pine rocket pods sit behind the rear axle, low and back, where you want weight. Two, the pods are hollow inside (I drilled them out), which means they double as weight enclosures. The 3D-printed exhaust caps seal the back. The car ends up with about three ounces of tungsten cylinder weights sitting behind the rear axle, hidden inside what looks like decoration.
The Pinewood Pro tungsten cylinder set was perfect for this. The cylinders are 3/8" diameter, which is a standard drill bit size, and they come in mixed lengths so you can dial in the exact total weight after you have weighed the rest of the car. The set is three ounces total. For our shark, after the carved body, the wheels, the nails, and the 3D-printed parts, we needed exactly three ounces to hit the five-ounce limit. The math was clean.
The rocket pods are decoration Elias picked. They are also the weight system. He does not know this. From his perspective, his shark has rockets.
My job, part three: the finish nobody sees
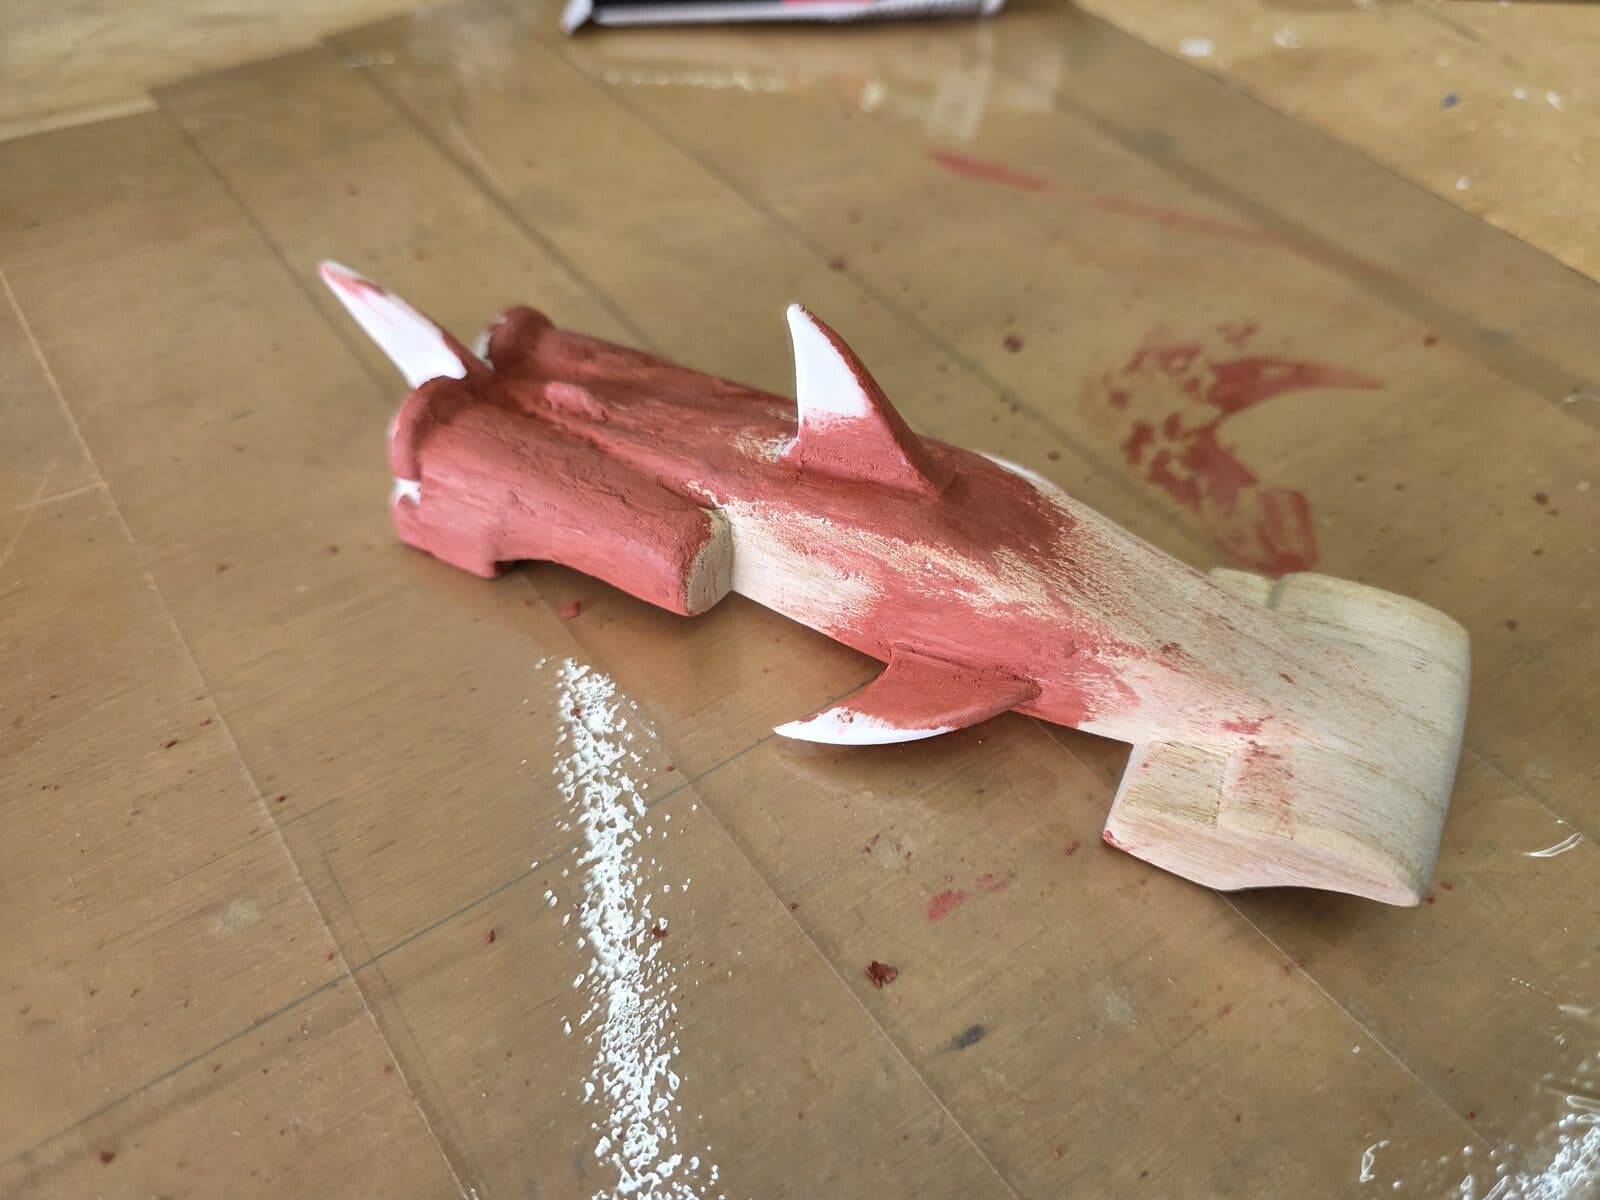
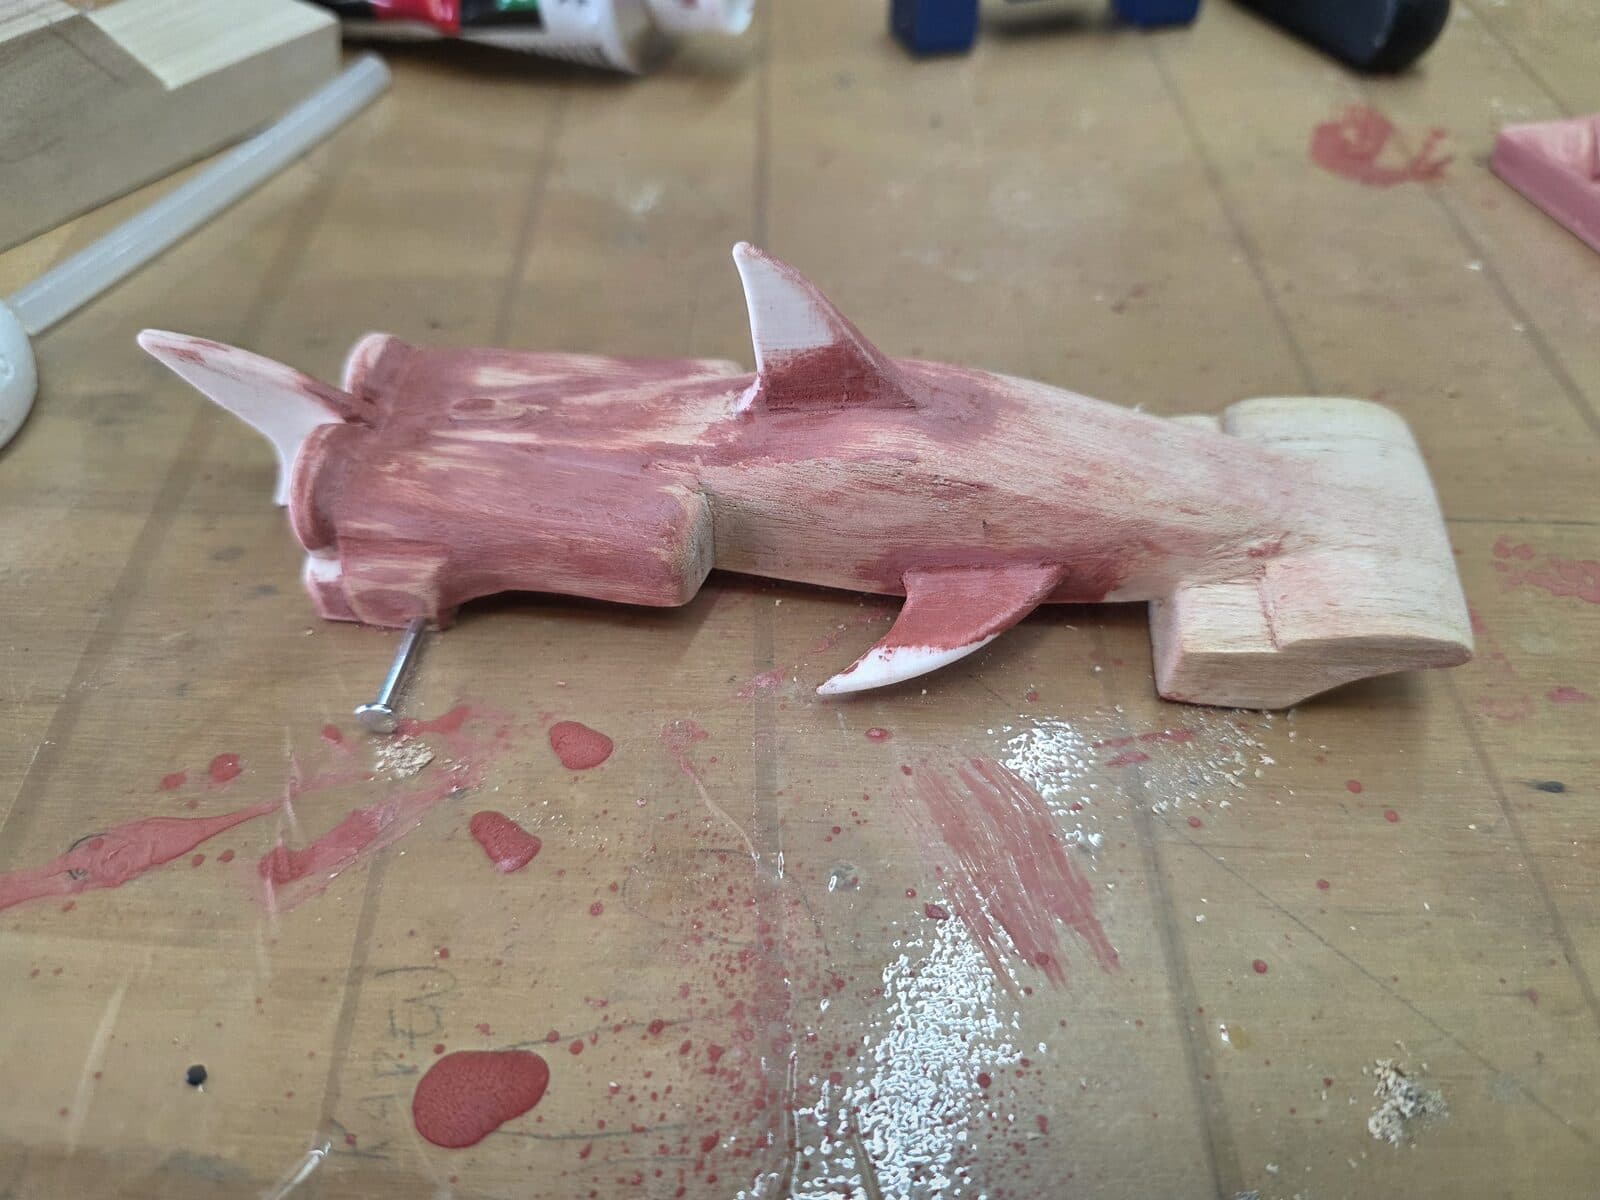
After the body was carved and the 3D-printed fins were glued on, the surface was a mess. Carving leaves knife marks. Gluing 3D-printed parts to pine leaves visible seams. The printed parts themselves have layer lines. None of that goes away with sanding alone.
So I did body work. The kind you do on a car.
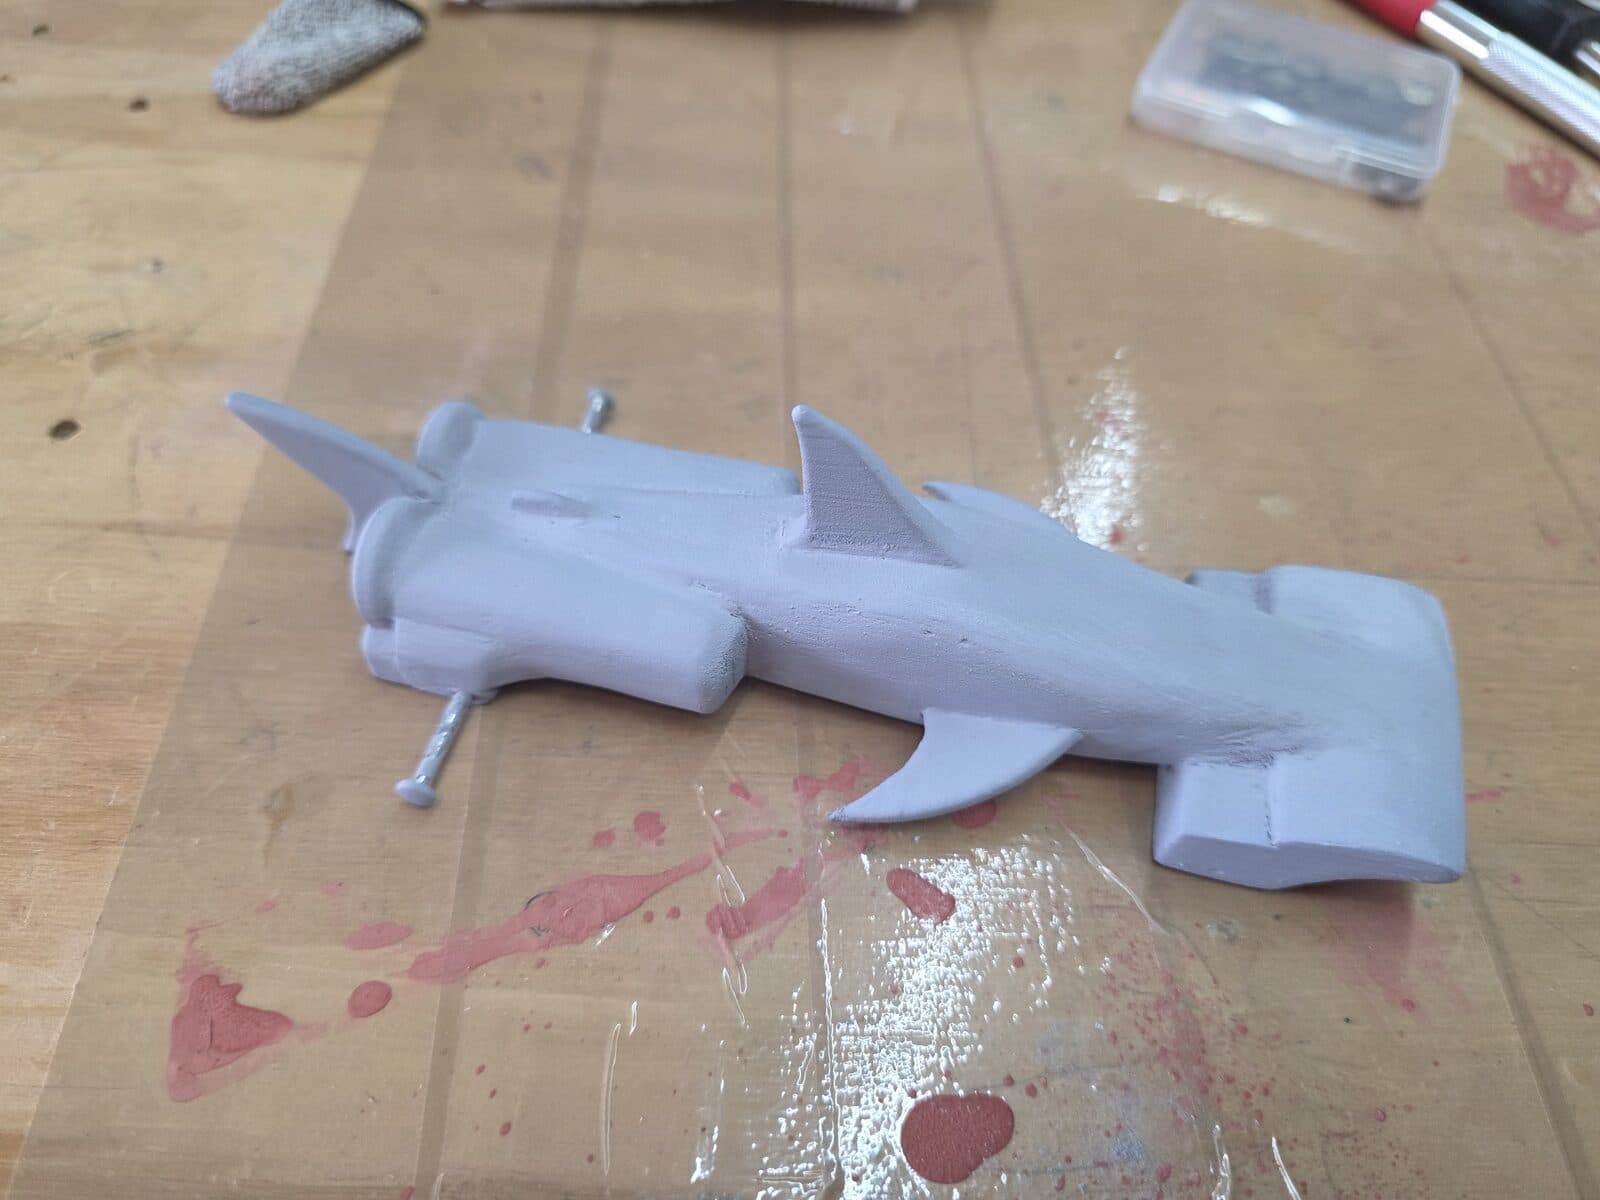
Automotive body filler (car putty) over every seam, knife mark, and imperfection. Cure. Sand back to the intended shape with 220 grit. Spot more putty into low spots. Sand again with 320. Two cycles to get the shape correct. Then high-build spray filler primer, two heavy coats, wet-sanded between coats with 600 grit. After two primer cycles, the car had no visible texture at all — pine, putty, and 3D print had all disappeared under a uniform matte gray skin.
This is automotive-grade surface preparation on a pinewood derby car. Overkill, freely admitted. Also the reason the finished car does not look like a kid's project — it looks like a model. When the judges picked it for best design, they were partly responding to this.
Elias's job, part two: paint
After all of that — carved, glued, puttied, sanded, primed, re-puttied, re-sanded, re-primed, re-sanded — I handed the car back to Elias.
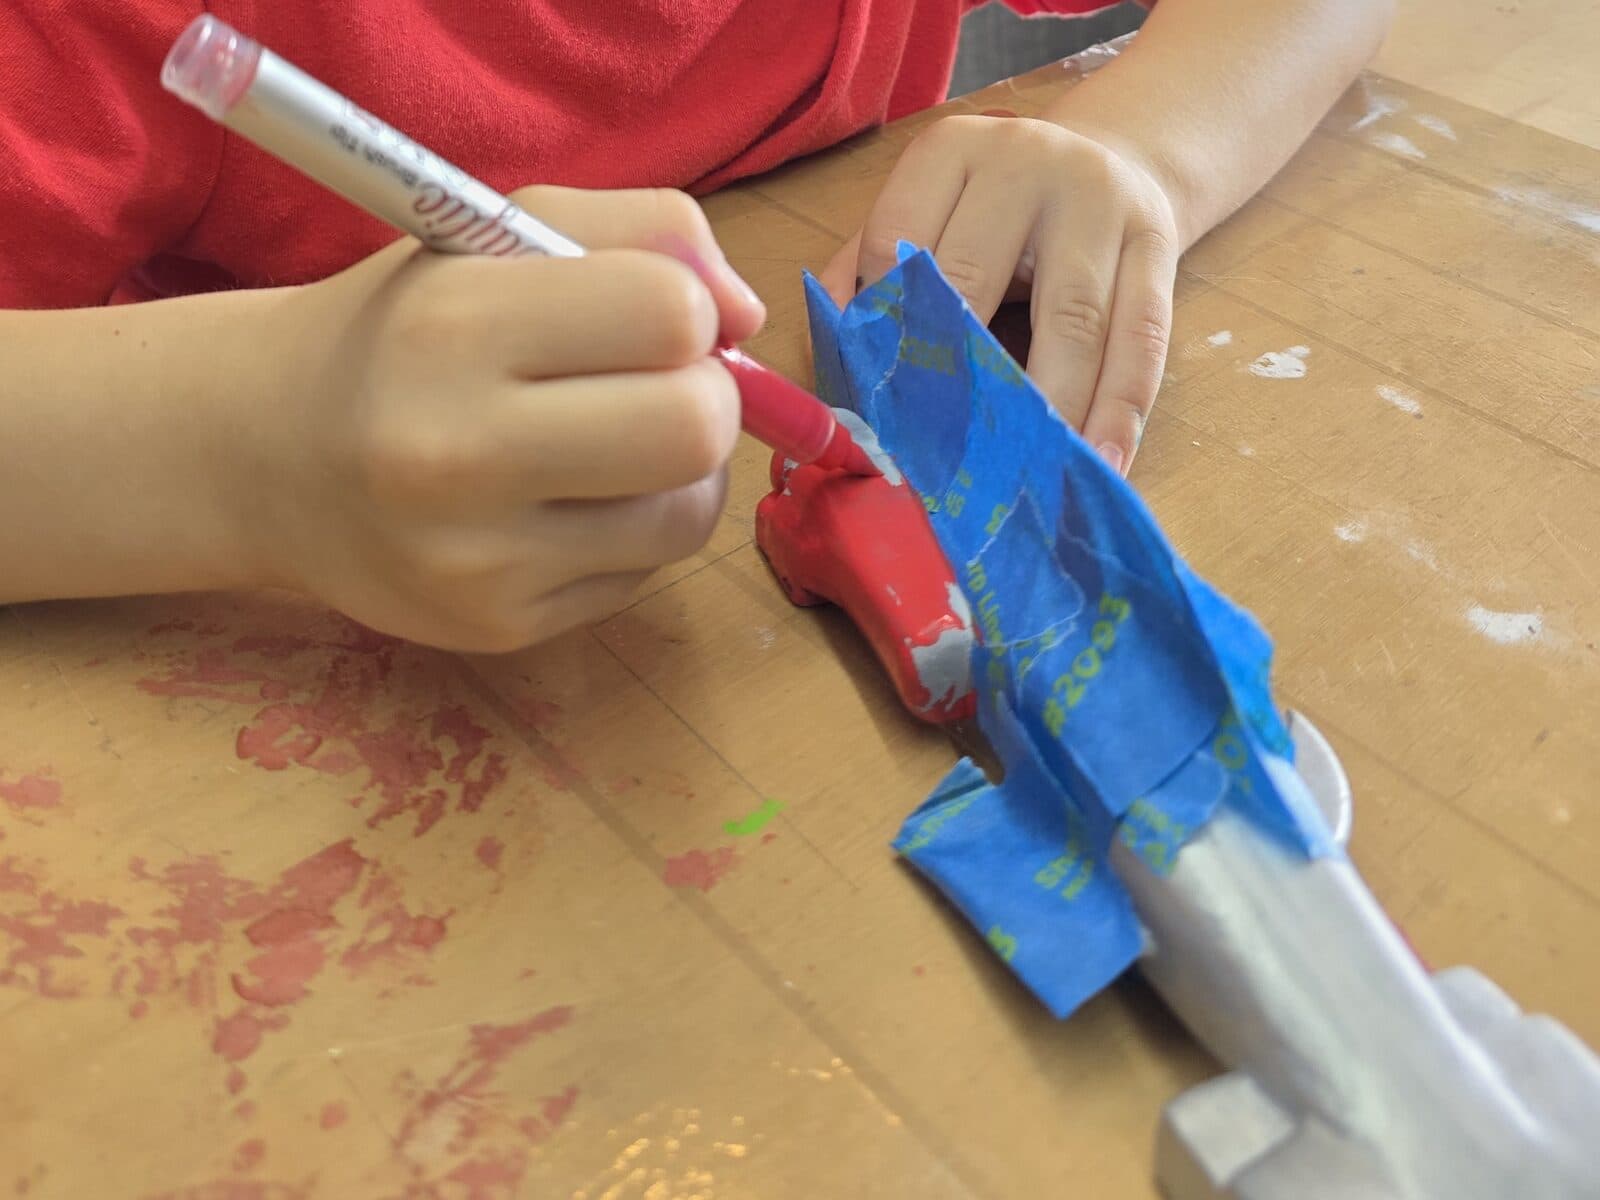
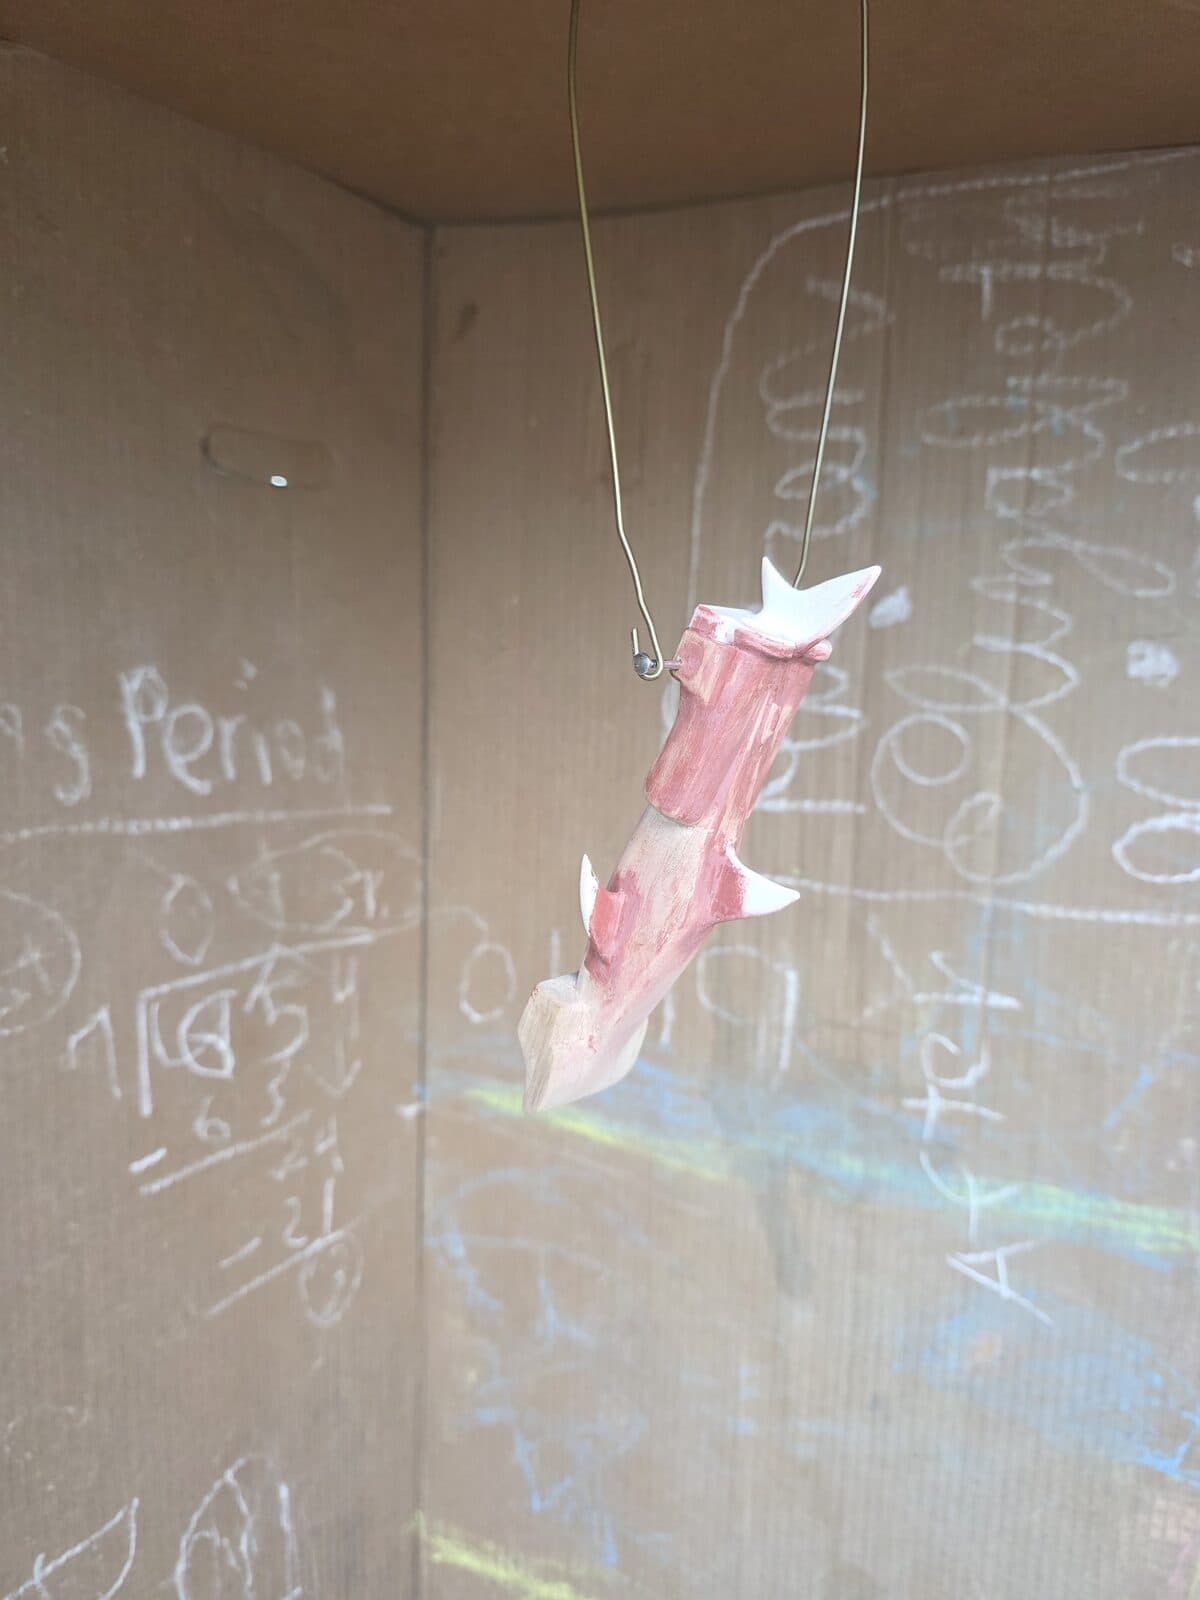
The shark was his again at that point. I gave him acrylic paint markers and let him work. Acrylic markers were the right tool for a five-year-old. He could grip them like a regular pen, the tips put paint exactly where he aimed, and there was no spray to overshoot or brush to drip. The color choices were his. The eyes were his. Every detail on the body — the gills, the spots on the underbelly, the white highlights on the dorsal — was his.
For the parts of the car that needed two colors (silver body, red on the rocket pods), I masked with painter's tape before he started. He laid silver over the whole car first. Then I taped off everything except the rocket pods. He filled in red. Then I peeled the tape. The two-tone came out clean because the tape did the precision work for him.
He painted for two afternoons. There is a small drip on the left flank that you can only see if you turn the car a certain way against the light. I asked him if he wanted me to fix it. He said no. He said the shark had been swimming and that is where the water dripped off.
That answer is the entire reason we did this.
After the acrylic cured, I sealed everything under two light coats of clear acrylic spray. Protects the paint, locks the colors together, done.
My job, part four: the engineering nobody sees
Three more techniques separated this car from a normal carved pinewood derby and made the difference between fast and second-place fast: extended wheelbase, canted rear axles, and a raised front wheel with the other steering axle bent into a rail rider. The Pinewood Pro PRO Driller does the first two in a single jig. The wheel and axle work is a separate evening. Each of these techniques is significant enough to deserve its own post, and each will get one. The point worth making here: none of this is visible. None of it is the part of the car a five-year-old can do. All of it is the part of the car a parent who cares can do.
Race day
Awana Grand Prix runs heats over an afternoon, with kids competing within their age division. The shark won most of its heats and came in second place in speed within Elias's division, beaten by a car shaped like a flat, low, narrow surfboard — almost exactly the form factor of the Pinewood Pro Lazer, which is a pre-shaped body sold specifically because that silhouette is fast. There is almost no air to push out of the way with that shape. Elias's shark, by contrast, has a tall dorsal fin and rounded sides. Pure aerodynamics, the surfboard wins. No argument.
The design award was a separate judging category. The judges looked at all the cars at check-in and voted at the end of the day. The shark won first place in design in Elias's division — outright, no tie. Most of the other kids had built standard wedges with paint jobs. Elias's shark was a shark.
He carried home two trophies. He has not stopped talking about them.
The deal at five years old
If your kid is five, six, seven — old enough to have opinions but young enough that they cannot use a knife — the work splits cleanly. Their job is to choose, paint, and own the car. Your job is everything in the middle. This is not cheating. It is how kids and parents work together on anything that matters at this age.
Two things worth saying:
Let them pick the design even if it is not aerodynamic. The shark is not the fastest possible shape. It still came in second because the engineering underneath was solid. The shape your kid loves is the right shape.
Do the engineering invisibly. Your kid should not need to know about negative camber and rail riders until they are old enough to do that work themselves. Until then, what they need to see is their car winning heats.
Elias spent race day with his trophies. I spent it watching him. The deal is exactly that.
Next year we are doing a jet.